Railway Deployment Guide
Step-by-step instructions to deploy your application on Railway
DocsCheck the Full documentation of the Nodejs-Enterprise-Launchpad-v2 Template
Step 1Go to Railway
Go to railway.com (you want 20$ in credits? Take the Pro-version of the Nodejs-Enterprise-Launchpad-v2 template)
Step 2Sign Up / Login
Signup or login to your account.
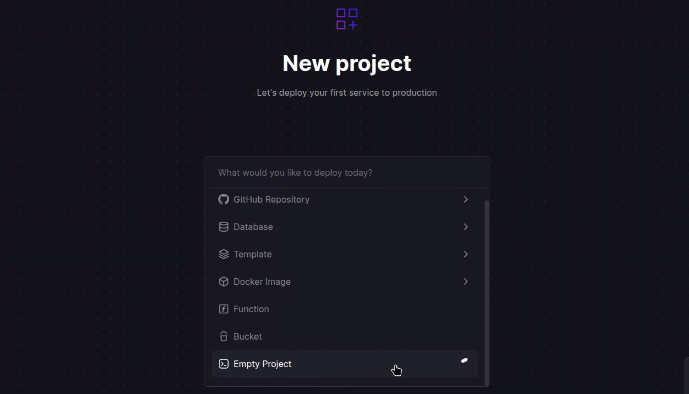
Step 4Empty Project
Create a new empty Project.
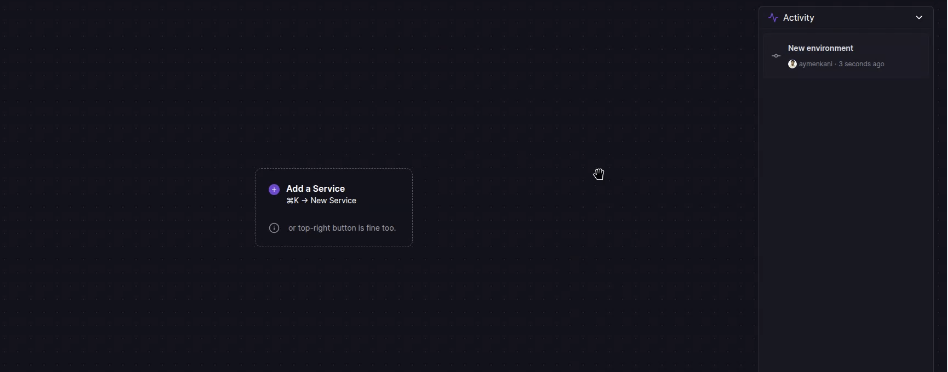
Step 5Project Area
You will have an empty area like this.
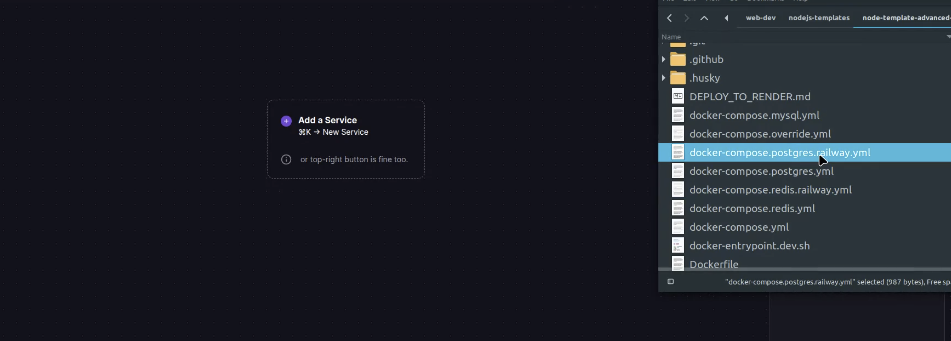
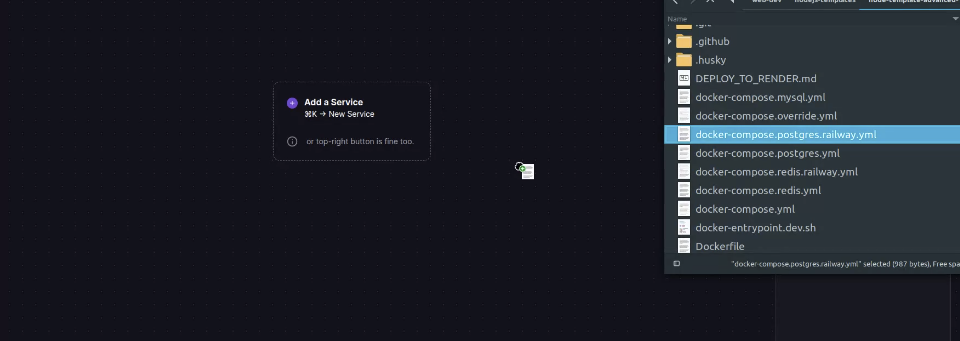
Step 6Add Database Service
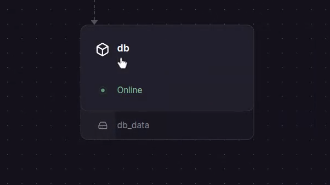
Open the project in the browser folder and drag and drop the docker-compose-postgres.railway.yml file. This will create a new "db" service.
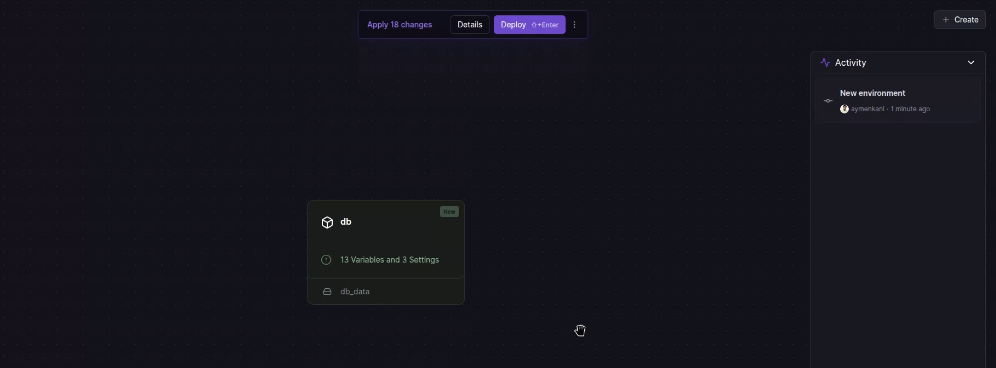
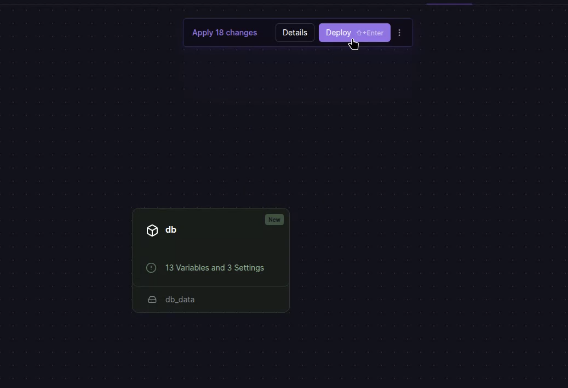
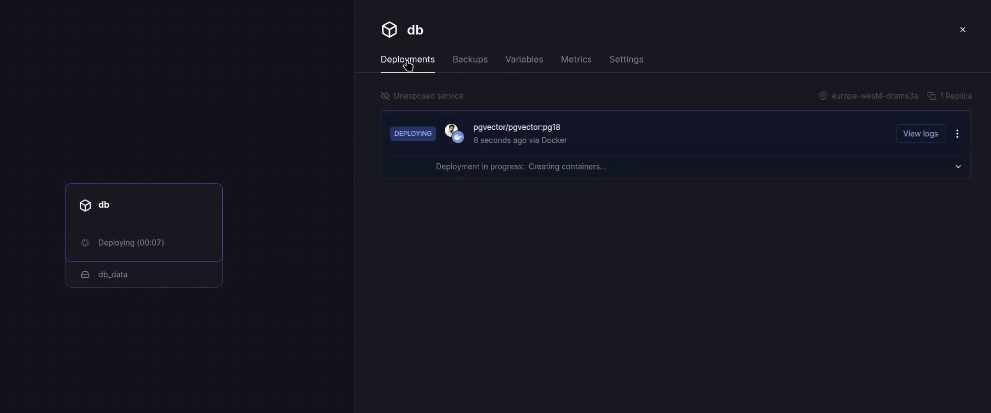
Step 7Deploy Database
Click "Deploy" to deploy the db service.
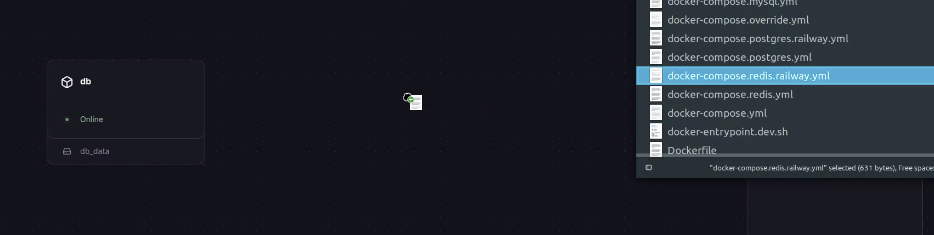
Step 8Add Redis Service
Once the db service gets deployed, go ahead and drag and drop the next file docker-compose.redis.railway.yml to create the redis service.
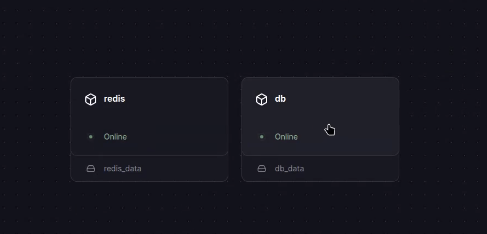
Step 9Deploy Redis
Deploy the Redis service.
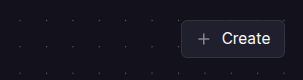
Step 10Prepare App Deployment
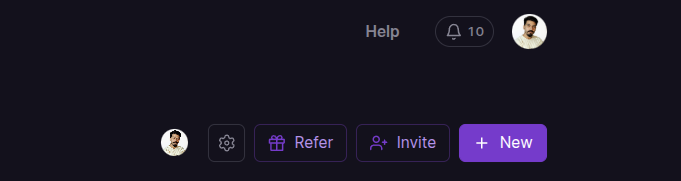
Now we need to deploy the app. Make sure to push it into a new github repo, then in railway project, click on the "Create" button.
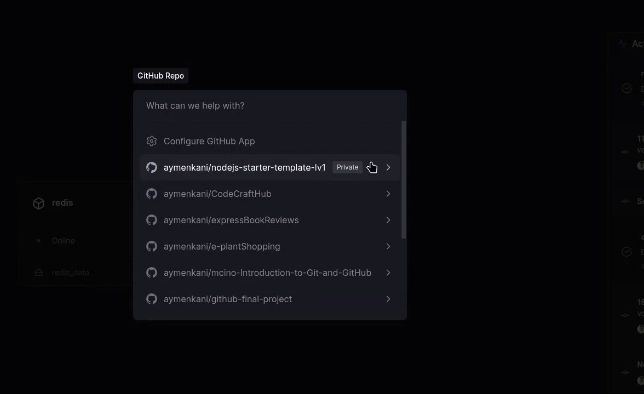
Step 11Connect GitHub Repo
Choose your github repo (you may need to connect your github account and allow railway to access your repos including private ones).
Step 12Access App Configurations
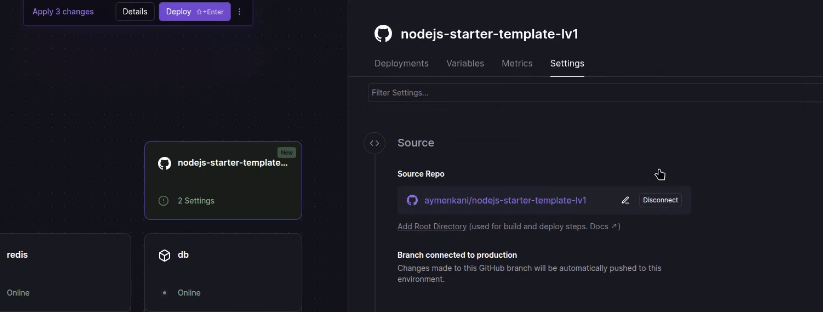
Before hitting "Deploy", we need to change some settings. Click on the nodejs app card to access the configurations UI. then navigate to the settings tab.
Step 13Set Config File
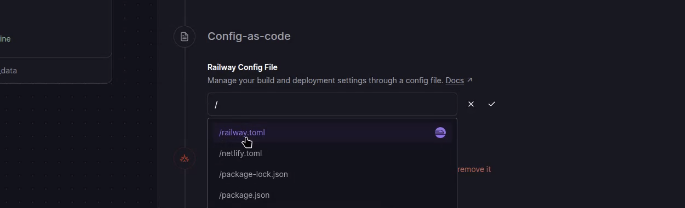
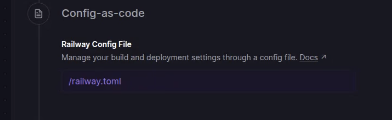
At the very bottom you will find a section named "Config-as-code". In the Railway config file input choose railway.toml
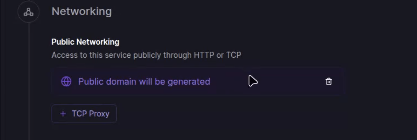
Step 14Generate Domain
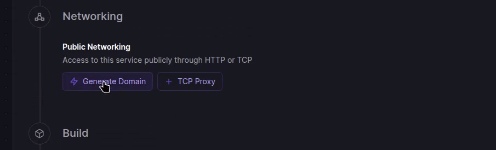
In the Networking section and under "Public Networking" click on "Generate Domain".
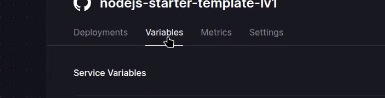
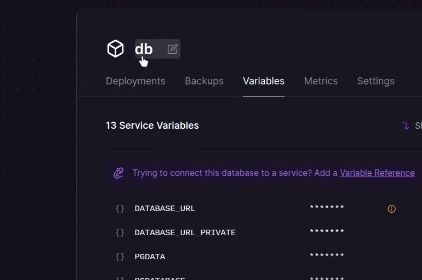
Step 15Switch to Variables
Now switch to the "Variables" panel. Ignore all the "Suggested Variables".
Step 16Open Raw Editor
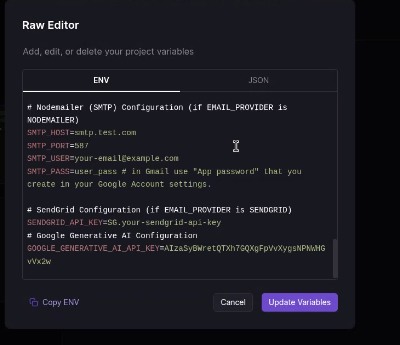
Go ahead and click on "Raw Editor".

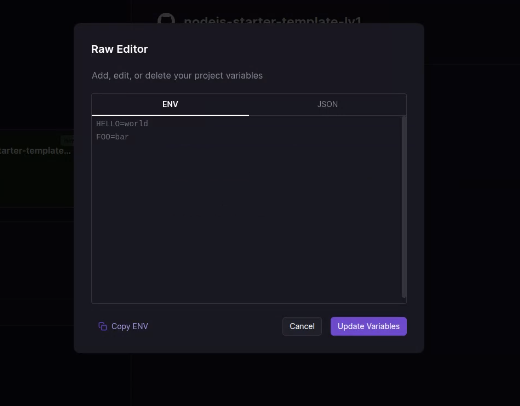
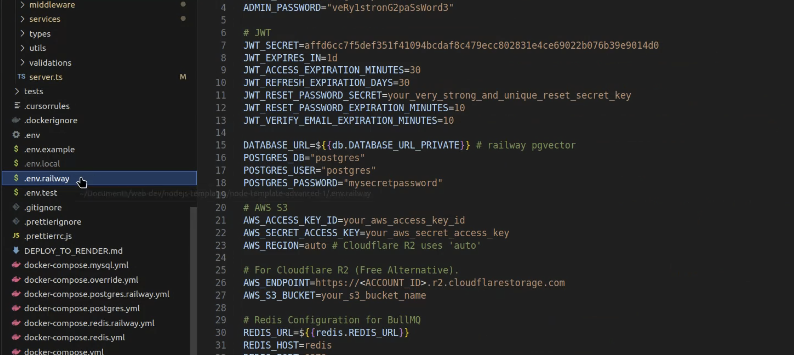
Step 17Copy Env Variables
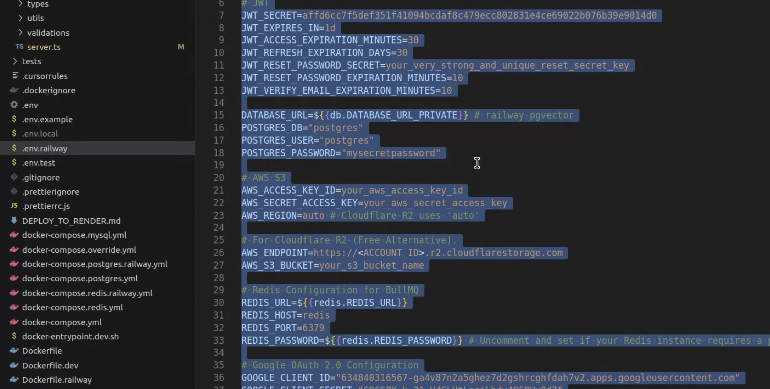
Open the nodejs project on VSCode and open the .env.railway file. Copy its entire content and paste it inside the "Raw editor" on Railway.
Step 18Customize Variables
You may want to edit your environment variables like adding your Cloudflare endpoint and API keys.

Step 19Keep Service Links
Keep all the variables values that look like this ${{db.DATABASE_URL_PRIVATE}} or ${{redis.VARIABLE}} (you may want to change the demo variable to false).


Step 20Update Variables
Click on "Update Variables".
Step 21Service Connections
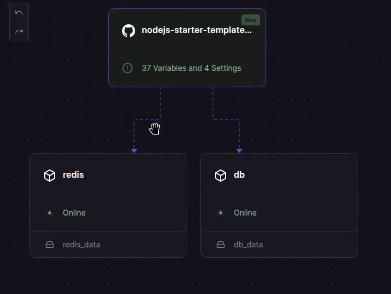
You should notice that the Node.js app (from github repo) is now connected to the other "db" and "redis" services.
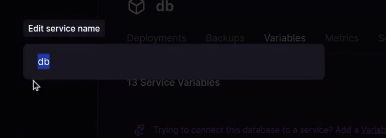
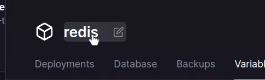
Step 22Fix Service Names
If your not seeing the arrows connecting the app to the services, make sure that your services has the exact names "db" and "redis". You can edit them like shown in the images.
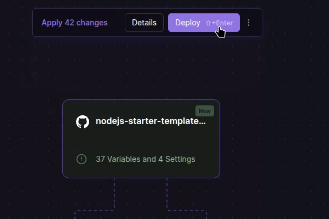
Step 23Deploy
Now you can finally click on "Deploy" and see the magic happen.
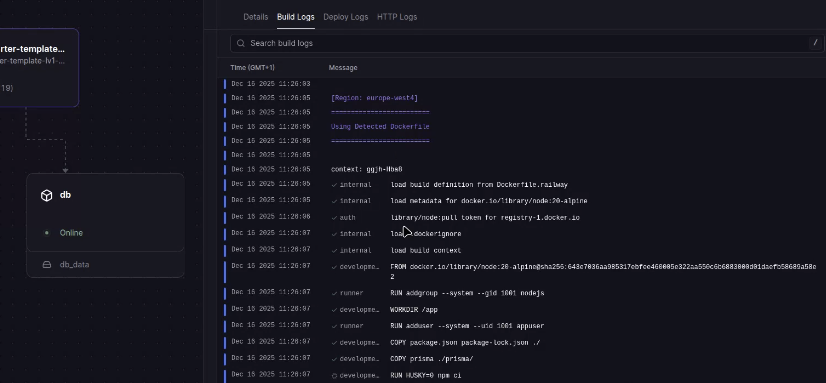
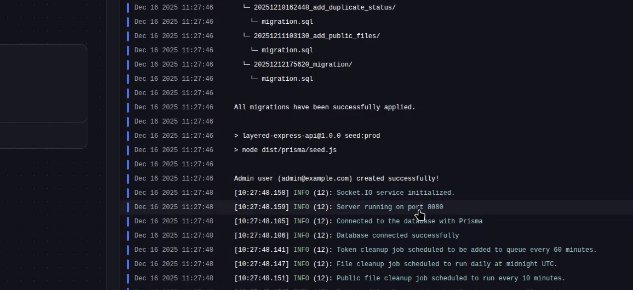
Step 24Check Logs
You can check the logs to make sure that everything is working.

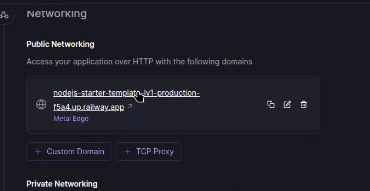
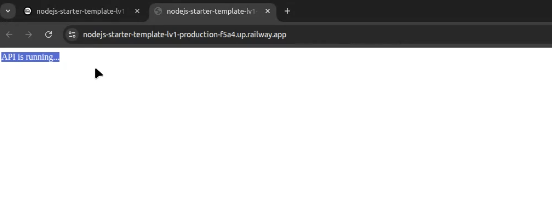
Step 25Verify Deployment
If the deployment was successful, click on the Node.js app service and in the setting panel scroll to "Networking" and you will find a public url. That's where your application resides. If you click on it, you should get a page that says "API is running".
Step 26Important Note
You can always update the env variables, but always keep the variables with this value ${{db.VARIABLE}} or ${{redis.VARIABLE}} or ${{railway.VARIABLE}} the same!
